|
Document cameras can be the fastest and easiest way to integrate technology into your classroom. However, it is SO much more than just a camera! In our district, most document cameras have pretty advanced software that can be used for a multitude of activities. Read below to find out new ways to use your document camera! 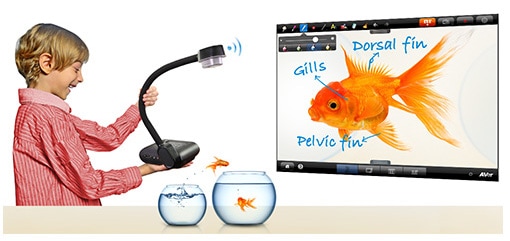 Document Camera Tools Most document cameras have software that supports the following features:
How Can I Use These Features? Record Everything! I can't stress how much time you will save by recording lessons, notes, explanations, etc. Examples:
Interactive Notebooking Hit record and demonstrate how-to cut and paste work into an interactive notebook. It will save to the archive manager, and you can later share it to individual student devices, or share whole class. Students can watch it as many times as necessary without you having to repeat the instructions multiple times. I LOVE interactive notebooks, and this was a lifesaver! Reading Outloud Place a book or novel under the camera and zoom if necessary to visually enlarge the pages for students. Demonstrate active reading for your students by using the annotation feature. Take notes in margins, highlight main ideas, or underline new vocab terms. Hold a quick lesson on punctuation as well. Jumbotron My students always loved this! When students are working in groups appropriately, turn the camera on them and show them on the "jumbotron." This is a great way to get off task kiddos back on track. Sometimes, I would capture the group's photo and leave it displayed on the screen for the next class to see. The next class would work hard in groups to see if they could get their photo on the "jumbotron." You can also use it to display exemplars in student work! Webcam Use the camera and audio feature just like a webcam! Take digital field trips, connect with another class, or video conference with a colleague or guest speaker. Absent Students Take photos or record work during your daily lesson. Share it with students who are absent. Student Projects Let students or groups record themselves presenting a project. This could be simply presenting a poster, letting a student present a lesson, or having them create a fun news broadcast. You can archive the videos and then upload them onto a class Youtube page for students and parents to view. Save and Share All images and recordings automatically save within the archive manager in the document camera software. Scan student work and share it on your class website, with parents, or students. Create folders or "stack" as the software may call it, and keep them to use the next year. Show and Tell Younger students can show off objects they bring to class, by zooming in, rotating, and even recording themselves presenting the object. Whole Class Discussion When presenting a document or picture, allow students to come up and write or type in thoughts or answers using the annotation tool. When finished, make sure to take a quick snapshot of the document to store in your archives. Before and After Use split screen to display how work should look before and after. Scan Mulitiple Pages Use the time-lapse feature to scan multiple pages or images quickly. You can then open the images and annotate them. 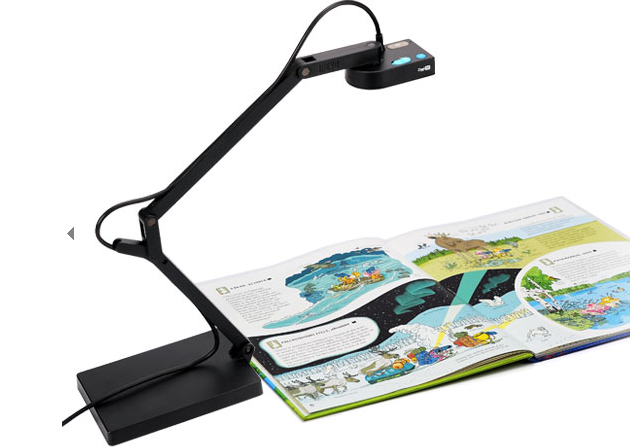 Keep in mind each document scanner brand and version does slightly vary. If you need help locating these features, or would like a session on how to use them, please email [email protected].
1 Comment
1/30/2018 12:39:42 am
Just imagine when you have advanced video conferencing and use the camera to do the video should have the best quality. Like the Logitech brand Leave a Reply. |
About Our BlogOur blog is intended to highlight our instructional technology thoughts. We hope to bring you creative and innovative ways to use technology in your classroom, as well as a little educational inspiration every now and then! Archives
May 2018
Categories
All
|
 RSS Feed
